

Product Categories
Seed Varieties
Signup to our Newsletter and Get 10% Off
Signup to Sonoma newsletter and receive latest updates about our websites, products, news, deals & coupons right directly in your inbox.

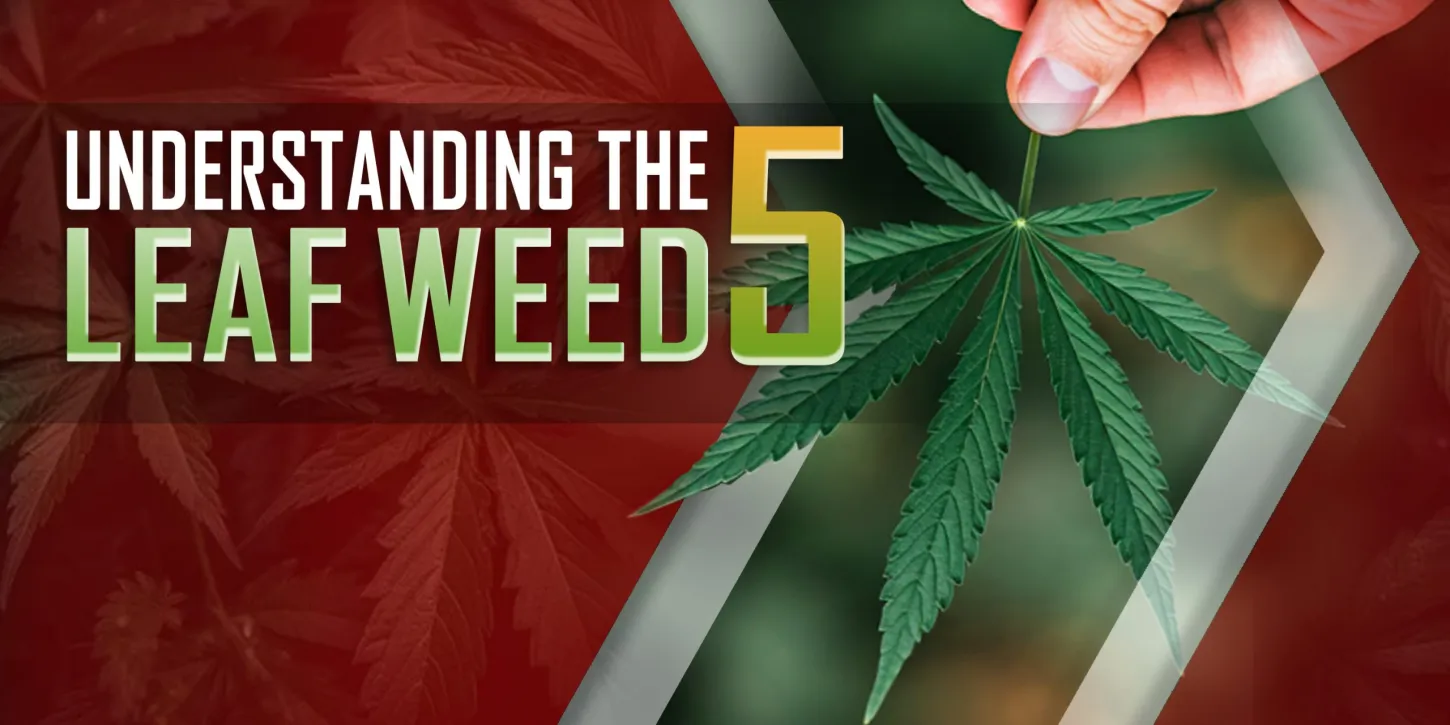
The classic way of consuming marijuana can be called in many ways like joint, classic funky green joystick, bone, blunt, cannon, spliff, and J-bird. Whichever way you may call it, you have to know exactly how to roll a joint.
It’s not just about rolling, but you can also create a craft out of it from the basic to backrolled, cone, cross joint, flag, oversized, tipped, and so on. Before you get into the style and swag, you should know important things for the finished product.
If you want to know how to roll a joint like a pro, you should know the problems that you might encounter. Knowing what can go wrong is a way to perfection. These are the problems that may arise:
If you roll a loose joint, expect it to come up on its side. The solution is to tamp the joint with firmness.
You should know that if a joint is too tight, you can’t puff it well. You won’t be able to smoke it after all. Don’t let it annoy you and know how to roll a joint properly.
It is another sign that every stoner doesn’t want to. It’s like having a slobber etiquette when puffing weed.
There’s no specific amount of weed that you fill your joint. Everyone can make the size that one refers to. It can be a small one, or if you have a ravenous appetite on smoking weed, no one is stopping you from making a huge blunt.
A regular joint can contain two and a half grams of weed. No matter what amount of weed you’re going to fill the rolling paper, you must know how to do it well.
Without preparations, your rolling performance is bound to be a failure. All you need to do in this part is to make sure you have all the things that you need. You don’t want to look for some objects and leave other things hanging.
The essentials in rolling a joint are grinder as it can be impossible to handle some buds with just your bare hands working. You shouldn’t forget about rolling paper, crutch or filter, and rolling tray.
Pulverize your buds to the extent that it would fit well in the paper, so grind it like there’s no tomorrow. Make sure you check the bottom area of the grinder’s compartment. Make it a habit too so you can get some extra weed, and nothing goes to waste.
When you want to get a rolling paper that’s easy to use, it’s either it is expensive or you can’t find it at all. To absolve you from this difficulty, you can get a simple canvas.
You can depend on it when you want to learn how to roll a joint like a pro. It would help you improve your skills quickly. It won’t make you feel frustrated with the continuous failure of rolling it.
When you know what you’re doing, and even when you use a roller for your joint, you may skip on adding the filter. It doesn’t do much on the outcome. Well, it can create a smoother hit.
You may not need it because of some reason. First of all, non-filter joints can be with you for a prolonged time, as it lasts longer. It’s every smoker’s to pass on something that can shorten the smoking period.
Filters would motivate your carelessness as they sometimes fall and get on the user’s way. So, it just brings inconvenience.
The amount of ground marijuana that will fill the paper shouldn’t be too much or too little. You have to make them sparse as they are placed in the middle area of the paper.
It may sound simple, but you should do it with much care. There may be some stems that were mixed up with the pulverized buds. What will happen next is that it destroys your joint.
Pay attention to what you put on the paper. It’s just extra carefulness, and you don’t want to start all over again.
It’s not necessary to use adhesive when tucking your joint. You can tuck the side of the paper like you’re rubbing two coins together.
You should do it slowly with successive motions. Rushing won’t help, so just take it slow. You have to discipline yourself, so you can learn how to roll a joint like a pro.
You have to roll the stick firmly to make sure that the weed stays in place. It may annoy you, but make sure even a little amount won’t fall off. The learning process of rolling a joint is taking things slowly.
You can use tobacco first for practice if you don’t want to waste your weed. Expect that it will tire you while you’re learning. It will also come to the point that it can be frustrating.
If you persevere, you will be rejoicing once you see a perfect round stick that is similar to the manufactured cigarettes. You have to go over quality assurance by making sure that all the pieces of weed are securely packed and sealed.
Every bit and grain should be pushed and packed deeper in a joint. Fit as much as you can before knotting it. You can also prepare a dash of kief for additional green sprinkles.
The things that you can use are dull scissors, a pen, or a headphone jack of an iPhone. Avoid using something sharp as it would damage what you worked on. You don’t want to regret it as you’re near obtaining the finished product.
It’s time to enjoy what you’ve done with patience. You have gone through a lot to get it to perfection, so you deserve the euphoria and the relief that you can gain from it.
It takes practice on how to roll a joint like a pro. You have to remain patient as you through the essential steps. It’s all worth it as you won’t waste any amount of weed, and you can enjoy smoking it in the right amount of time.
Signup to Sonoma newsletter and receive latest updates about our websites, products, news, deals & coupons right directly in your inbox.
Are You 18 Or Over?
By clicking 'Continue', you confirm that you are over 18 years old. By using this website, you agree to our disclaimer.